Fran makes
DIY Skeleton Wall Art
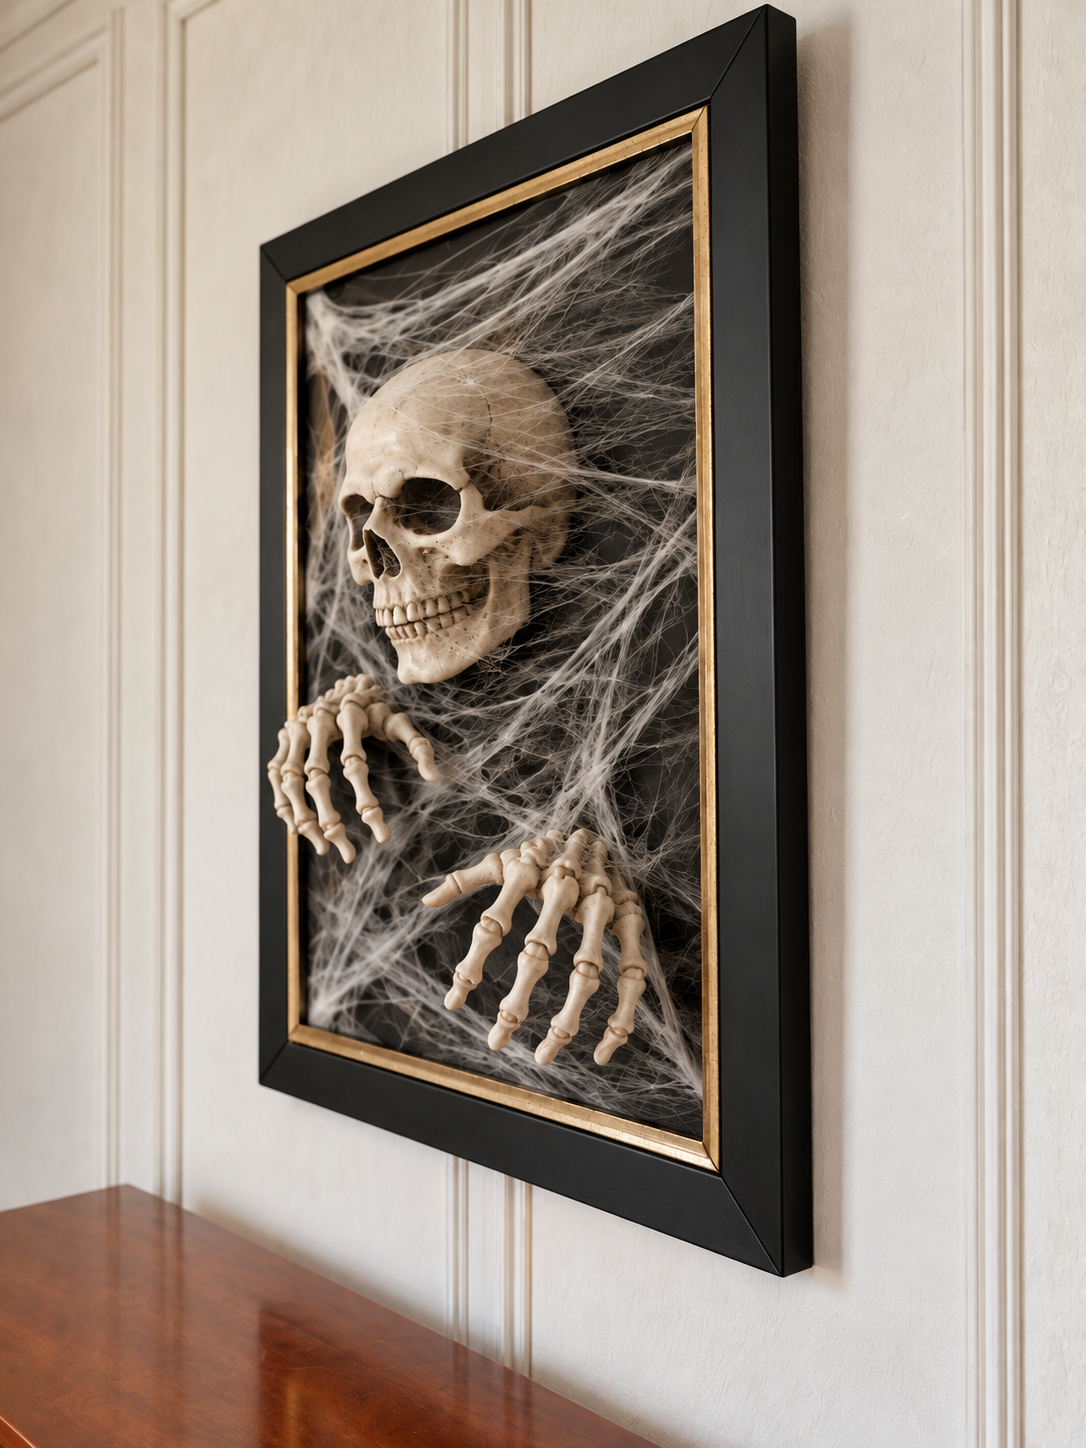
This spooky framed skeleton is surprisingly simple. Add a black background, glue on a skull and skeleton hands, then finish it with wispy cobwebs.
gather your pieces
What you’ll need
make the magic
How to make it
Arrange everything before gluing and keep the cobwebs light. A few thin layers create the best dimension.
Make the backing black
Remove the cardboard backing that comes with the frame and set the clear front panel aside. Cover the backing with black contact paper, or spray paint it black according to the paint directions. Let it dry completely before continuing.
Arrange the skeleton
Set the skull slightly above center and angle the hands below it so the skeleton looks like it is reaching through the frame. Mark the placement lightly.
Glue the pieces
Use the hot glue gun according to its directions to attach the skull and hands to the black backing. Let the glue cool and set before moving the artwork.
Add cobwebs and frame
Stretch the cobwebs into thin wisps across the backing, skull, and hands. Return the finished backing to the frame, secure it, and hang it with hardware rated for the finished weight.